Welcome to Hauserinfos Ladies Nails!

? Ladies, welcome to your exclusive nail haven! ?
I’m your host, Hauserinfos, and I’m thrilled to have you here at the Ladies Club Nails Show Ombre nails. As a gentleman, I’m passionate about showcasing the beauty and creativity of nail art. This blog is dedicated to celebrating all things nails, from classic manicures to the latest trends and everything in between. Whether you’re a seasoned nail enthusiast or just dipping your toes into the world of nail art, this is the place for you!
I’ll be sharing a curated collection of stunning nail designs, providing inspiration and step-by-step guides to help you recreate these looks at home. From simple and elegant styles to bold and daring creations, there’s something for everyone. And remember, this is a judgment-free zone – all women are welcome to explore, experiment, and express their unique style through their nails.
So, grab your favorite polish and let’s get started!
Each day, I’ll feature a new nail design with a captivating image and a detailed description. We’ll delve into the colors, techniques, and inspirations behind each look, giving you all the tools you need to achieve nail perfection.
go to the homezone
Get the Look: Nail Art Tutorial Coming Soon!
nail polish
? Purple Leopard Flame Ombre Nails ?

These captivating purple leopard flame ombre nails are a mesmerizing blend of fierce and fabulous! ?? The gradient of purple hues creates a stunning backdrop for the playful leopard print, while the fiery flames add a touch of drama.
How to Get the Look:
- Apply a nude base coat. Start with a neutral or nude base coat.
- Create the ombre effect. Using a makeup sponge, blend different shades of purple polish, fading from light to dark.
- Add the flame design. With a thin brush, paint flame shapes in a darker purple or black.
- Create the leopard print. Use a dotting tool or fine-tipped brush to add leopard spots in black.
- Seal the design. Finish with a glossy top coat for shine and protection.
Embrace the Ombre!
Ready to rock this eye-catching look? Try this ombre nail art and share your creations on social media!
? Sunset Ombre with Palm Tree Paradise ?

Bring the tropics to your fingertips with this stunning ombre nail art! The vibrant gradient from deep purple to fiery orange mimics a breathtaking sunset, while the silhouetted palm trees add a touch of wanderlust. This look is perfect for summer nights or anytime you need a little escape.
How to Achieve the Look:
- Start with a black base on all nails.
- Using a makeup sponge, apply a gradient of purple, pink, orange and yellow, blending the colors seamlessly.
- Once dry, carefully paint black palm tree silhouettes against the colorful backdrop.
- Add a touch of sparkle with glitter polish on the black base.
- Finish with a top coat to seal in the design and add shine.
Ending: With a little practice, you’ll be rocking this summery ombre look in no time!
⚫⚪ hauser’s ladies Dalmatian Ombre Delight ?
This playful ombre nail design is spot-on! The classic French manicure gets a trendy twist with a gradient of black dalmatian spots fading into a nude base. The contrasting colors create a chic and eye-catching look that is both fun and sophisticated.
Achieve this look:
- Start with a nude base coat on all nails. Let it dry completely.
- Using a thin nail art brush or a dotting tool, carefully create black spots of varying sizes, concentrating them towards the tips of the nails and gradually fading them out towards the base.
- Apply a white polish to the tips of your nails, creating a classic French manicure line.
- Finish with a clear top coat to seal and protect your design, adding extra shine.
With this simple yet stylish nail art, you’ll be turning heads and showcasing your playful side!
? hauser’s ladies Starry Desert Nights ?

Embrace the enchanting beauty of the desert under a starlit sky with these mesmerizing ombre nails. The design features a gradient that fades from a soft peach at the base to a deep black at the tips, reminiscent of a night sky. Two nails are adorned with an intricate cactus design, standing tall against a glittering backdrop that sparkles with hints of purple, blue, and green – just like the Northern Lights.
How to achieve this look:
- Start by applying a base coat to protect your natural nails.
- Paint your nails with a peach-colored polish as the base for your ombre.
- Gradually blend in black polish from the tips towards the middle to create the ombre effect.
- On two accent nails, use green polish to draw cacti and add small dots of white for thorns.
- Apply glitter polish over the black tips for that starry night sparkle.
- Finish off with a top coat for lasting shine and protection.
This unique nail art design is perfect for those who love to combine elegance with an edge of whimsy.
?? Edgy Ombre Romance ??

Fall head over heels for this captivating ombre nail design! The bold black fades into a soft pink, creating a striking backdrop for playful heart accents. A touch of glitter adds a glamorous touch, making this look perfect for date nights or special occasions.
Get the look:
- Prep and prime your nails. Apply a base coat for smooth application and protection.
- Create the ombre. Using a makeup sponge, apply black and pink polish, blending them seamlessly to create the gradient.
- Add the hearts. Use a dotting tool or a small brush to carefully paint pink hearts on the ombré background.
- Apply glitter. Lightly dab glitter polish over the black ombre section for a subtle shimmer.
- Seal the design. Finish with a top coat to protect the nail art and add extra shine.
This edgy yet romantic manicure is sure to turn heads!
Sunset Ombre: Tropical Vibes with Palm Trees

Bring the beach to your fingertips with this vibrant ombre nail design! The gradient of sunset colors—pink, orange, yellow, and green—creates a stunning backdrop for the playful black palm tree silhouettes. This eye-catching look is perfect for adding a touch of summer fun to any outfit.
How to Achieve this Look:
- Prep your nails with a base coat.
- Create the ombre using a makeup sponge and your chosen colors.
- Once dry, carefully paint palm tree silhouettes using black polish and a thin brush.
- Finish with a clear top coat for a glossy finish.
?? Zebra Ombre Nails: A Fierce & Fashionable Gradient ??

Get ready to turn heads with these eye-catching zebra ombre nails! This fierce and trendy design features a seamless blend of a sheer nude base transitioning into a bold black tip, all topped off with striking zebra stripes. The gradual ombre effect adds depth and dimension, while the black and white stripes create a bold contrast that’s both edgy and sophisticated. Whether you’re heading out for a night on the town or simply want to elevate your everyday style, these zebra ombre nails are sure to make a statement.
How to Achieve the Look:
- Prep Your Nails: Start with clean, manicured nails and apply a base coat to protect them.
- Ombre Fade: Create a gradient effect by blending a sheer nude polish at the base with a black polish towards the tips of your nails. Use a makeup sponge or a specialized nail art brush for a seamless transition.
- Zebra Stripes: Using a fine-tipped nail art brush and white polish, paint thin, vertical stripes over the black ombre. Vary the thickness and spacing of the stripes for a natural, animalistic look.
- Seal the Deal: Apply a top coat to protect your design and give your nails a glossy finish.
For an extra touch of glam, consider adding a few rhinestones or glitter accents near the cuticle. Unleash your inner wild side and rock these fierce zebra ombre nails!
?? Blue Ombre Leopard Glam ??

Make a statement with these fierce and fabulous blue ombre leopard nails! This trendy look combines a stunning blue ombré fade with a classic leopard print accent, creating a bold and sophisticated manicure. The addition of delicate glitter adds a touch of sparkle and completes this eye-catching design.
Get the Look:
- Prep and extend your nails to the desired length using tips or acrylics. Opt for a stiletto or coffin shape for a dramatic look.
- Apply a base coat to protect your nails and ensure the polish adheres properly.
- Create the ombré effect by blending different shades of blue onto a makeup sponge and gently dabbing it onto your nails.
- Once the ombré is dry, use a fine brush or stamping plate to create the leopard print accent nail.
- Add a thin coat of glitter over the ombré for a subtle shimmer.
- Finish with a top coat to seal in the design and add shine.
This bold and sophisticated manicure is perfect for a special occasion or anytime you want to make a statement!
Sunset Palms: An Ombre Nail Art Escape

Embrace the golden hour with these captivating “Sunset Palms” ombre nails. This design transports you to a tropical paradise with a mesmerizing blend of colors and detailed palm tree silhouettes. Long, coffin-shaped nails create the perfect canvas for this artistic masterpiece. The base transitions seamlessly from a soft yellow at the cuticle, reminiscent of the setting sun, to a deep orange that mimics the vibrant sky, and finally fades into a dramatic black night at the tips.
Delicate palm tree silhouettes, strategically placed against the gradient, evoke a sense of tranquility and wanderlust. The finishing touch of a neon yellow outline around each palm tree adds a touch of modern flair and makes the design pop. This versatile nail art look is perfect for a beach vacation, a summer festival, or simply adding a touch of sunshine to your everyday style. Sunset Palms” is a stunning way to showcase your love for ombre and pay homage to nature’s beauty.
✨ Cosmic Chrome Ombre: The Nail Look That’s Out of This World ✨

Elevate your nail game with this mesmerizing ombre look that blends holographic shine with bold black tips. It’s the perfect way to add a touch of celestial glam to your everyday style. #ombrenails #chromnails #nailart
?✨ Palm Tree Paradise Ombre: Tropical Nails for Summer ?✨

Escape to a tropical island with this stunning ombre nail design! The vibrant sunset hues blend seamlessly into a mesmerizing holographic effect, creating the perfect backdrop for the delicate palm tree silhouettes. This eye-catching look is sure to transport you to paradise, whether you’re lounging on the beach or sipping cocktails by the pool.
How to Achieve this Look:
- Prep your nails with a base coat.
- Create the ombre effect using a makeup sponge and pink, orange, yellow, and holographic nail polish.
- Once dry, carefully paint black palm tree silhouettes using a thin nail art brush.
- Finish with a glossy top coat to protect and enhance the colors.
Ombre Nail Tutorials: The Ultimate Guide to This Trendy Look

Ombre nails, with their seamless color gradients, are a gorgeous and eye-catching trend. If you’re ready to try this technique, there are tons of helpful tutorials and guides online to get you started.
Why Ombre Tutorials are Essential
- Skill Development: Tutorials give you step-by-step visual guidance to master the technique.
- Learn Different Methods: Discover techniques like sponging, airbrushing, and more!
- Inspiration: Find countless color combinations and design ideas.
- Troubleshooting: Tutorials explain how to avoid common ombre mistakes.
Types of Ombre Nail Tutorials

- Video Tutorials (YouTube): These are fantastic for beginners as they offer real-time demonstrations. Search “Ombre Nail Tutorial” on YouTube for plenty of options.
- Picture and Written Tutorials (Blogs): Perfect for those who like to follow along at their own pace. Many nail blogs have excellent ombre guides.
- Social Media (Pinterest/Instagram): Search hashtags like #ombrénails and #nailstutorials for quick inspiration and sometimes short video demonstrations.
Tips for Finding Great Tutorials

- Your Skill Level: Choose tutorials geared towards beginners, intermediate, or advanced nail artists.
- Desired Technique: Look for tutorials specifically covering the technique you want to learn (sponging, glitter ombre, etc.).
- Nail Length: Some tutorials cater to short or long nails.
- Clear Instructions: Good tutorials have clear steps and close-up visuals.
Where to Find the Best Tutorials

- YouTube: A massive resource with tutorials for every skill level.
- Pinterest: Search “Ombre Nail Tutorials” for an abundance of visual guides https://www.pinterest.com/.
- Nail Art Blogs: Many bloggers focus on specific techniques and offer detailed breakdowns.
- Nail Polish Brand Websites: Brands sometimes have tutorials using their products.
Get Blending!
Ombre nails are incredibly versatile and a wonderful way to channel your creativity. With practice and the help of great tutorials, you’ll be rocking flawless gradients in no time!
Ombre Nail Colors: Picking the Perfect Palette for Your Gradient

Ombre nails aren’t just a technique; they’re a canvas for expressing your personal style through color! With so many amazing colors to choose from, making that decision can be the fun kind of challenge. Let’s explore factors to consider and find your ideal ombre palette.
Key Factors To Consider

- Season: Ombre nails can mirror the season! Think pastels for spring, neons for summer, rich tones for fall, and icy blues for winter.
- Skin Tone: Certain colors flatter different skin tones. Consider undertones (warm, cool, or neutral) when browsing shades.
- Occasion: Are your ombre nails for an everyday look, a special event, or to match a specific outfit?
- Personal Preference: It’s all about what makes YOU happy! Don’t be afraid to experiment.

Trending Ombre Color Combos
- Classic Sunset: Peach, pink, and yellow perfectly mimic a fading sunset.
- Neon Pop: Electric blue, hot pink, and vibrant green create a bold summer statement.
- Mermaid Vibes: Teal, turquoise, and hints of purple, inspired by mythical ocean creatures.
- Monochromatic: Different shades of the same color (like light blue to dark blue) for sophisticated simplicity.
- Glitter Gradient: Shimmery gold fading into a neutral base adds a touch of effortless glam.

Tips for Choosing Your Colors
- Color Wheel: Research basic color theory (complementary colors, analogous colors) for eye-catching combos.
- Swatch it Out: Try holding nail polish bottles next to each other to visualize how they’ll blend.
- Nail Visualizer Apps: Some apps let you “try on” colors and even ombre effects digitally.
- Start Simple: For beginners, two colors with a subtle difference make for an easier gradient.

Resources to Spark Your Colorful Creativity
- Pinterest: Search “Ombre Nail Color Combos” for endless visual ideas https://www.pinterest.com/.
- Instagram: Explore hashtags like #ombrenails and #nailcolors for the latest trends.
- Nail Polish Blogs: Many blogs have swatch collections and ombre nail inspiration organized by season or color type.

Embrace the Color Journey!
The beauty of ombre nails lies in the endless possibilities for blending colors and finding combinations that make your heart sing. Don’t be afraid to play and discover your signature ombre style!

Ombre Nail Designs: Explore the Endless Possibilities
Ombre nails, with their soft and mesmerizing color blends, are the perfect way to add a touch of artistry to your manicure. Whether you love bold statement nails or a subtle, chic style, there’s an ombre design out there for you.

Why Ombre Nail Designs?
- Uniqueness: Each ombre manicure is a tiny work of art, making your nails a canvas for your color preferences.
- Versatility: Ombre designs look stunning on any nail length or shape.
- Customization: Play with countless color combinations, finishes, and embellishments.
- Trendy: Ombre nails are a massive trend, offering endless room to express your individual style.

Trending Ombre Design Ideas
- Negative Space Ombre: Incorporate the natural color of your nail into the gradient for a modern touch.
- Glitter Ombre: Add a sprinkle of glitter that fades out toward the tips for a touch of sparkle.
- French Tip Ombre: Replace the classic white French tip with a colorful ombre fade.
- Vertical Ombre: Instead of the usual horizontal gradient, create a vertical blend between colors for a unique twist.
- Multi-Color Ombre: Use three or more colors for an extra playful and eye-catching effect.

Design Accents to Try
- Rhinestones: Add a few strategically placed rhinestones for understated elegance.
- Tiny Charms: Personalize your nails with miniature charms that reflect your interests.
- Handpainted Designs: If you’re artistically inclined, try simple floral patterns or geometric shapes over your ombre base.

Where to Find Ombre Design Inspiration
- Pinterest: Search “Ombre Nail Designs” for a treasure trove of visual ideas https://www.pinterest.com/.
- Instagram: Follow nail artists and search hashtags like #ombrénails and #naildesigns.
- Nail Art Tutorials: Many video tutorials break down specific ombre designs step-by-step.

Get Creative with Ombre!
Ombre nail designs provide countless opportunities to express your style and experiment with color and accents. Remember, practice makes perfect, and above all, have fun with it! The best part of ombre is discovering all the amazing designs you can create on your own nails.

The Essential Ombre Nail Toolkit: A Guide for DIY Enthusiasts
Ombre nails are a stunning way to express your style, showcasing a seamless blend of colors across your nails. Whether you’re tempted to try the look at home or want to understand it better before heading to the salon, this guide will arm you with the knowledge and tools you need.

What is Ombre Nail Art?
Ombre nails involve a gradient transition between two or more colors. This can be a subtle fade between similar hues or a bold contrast with a pop of color. Unlike a simple color change from nail to nail, ombre focuses on blending those colors directly on each nail. [Ombre nails]
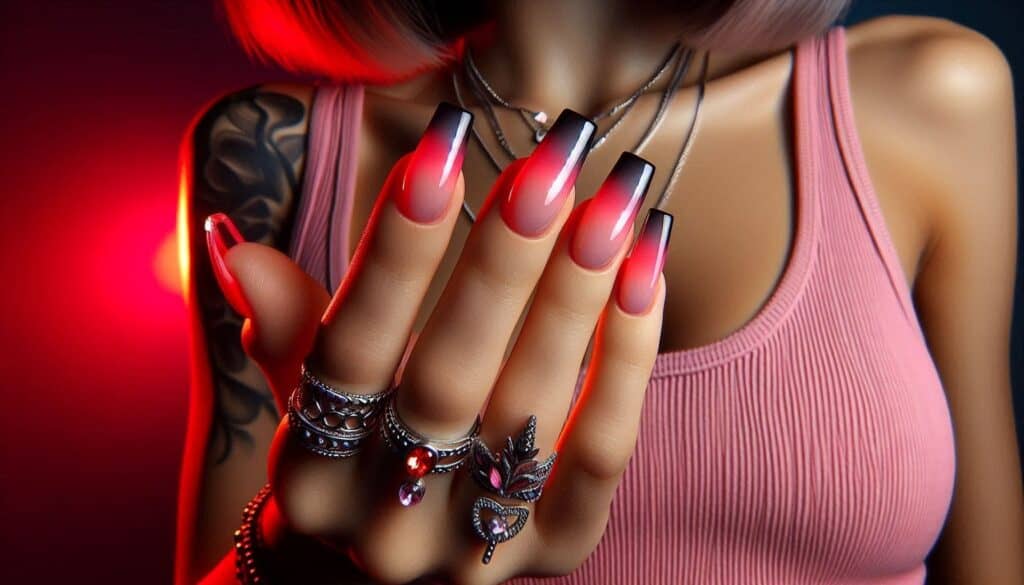
Essential Tools for DIY Ombre Nails
- Nail Polish: Choose at least two colors that work well together. Consider shades within the same color family or experiment with complementary opposites. Gel polish can provide a longer-lasting finish when cured properly.
- Ombre Sponge: Small makeup sponges are ideal. Alternatively, you can try a specialized nail sponge with replaceable heads for more precise gradient creation. [Ombre nails]
- Ombre Brush: These special brushes have soft, gradient bristles to seamlessly blend colors on the nail. Wide ombre brushes offer faster application for larger nail surfaces. [Ombre nails]
- Latex Nail Barrier (Optional): Applying a liquid latex skin barrier around your nails helps minimize cleanup after you create the gradient. [Ombre nails]
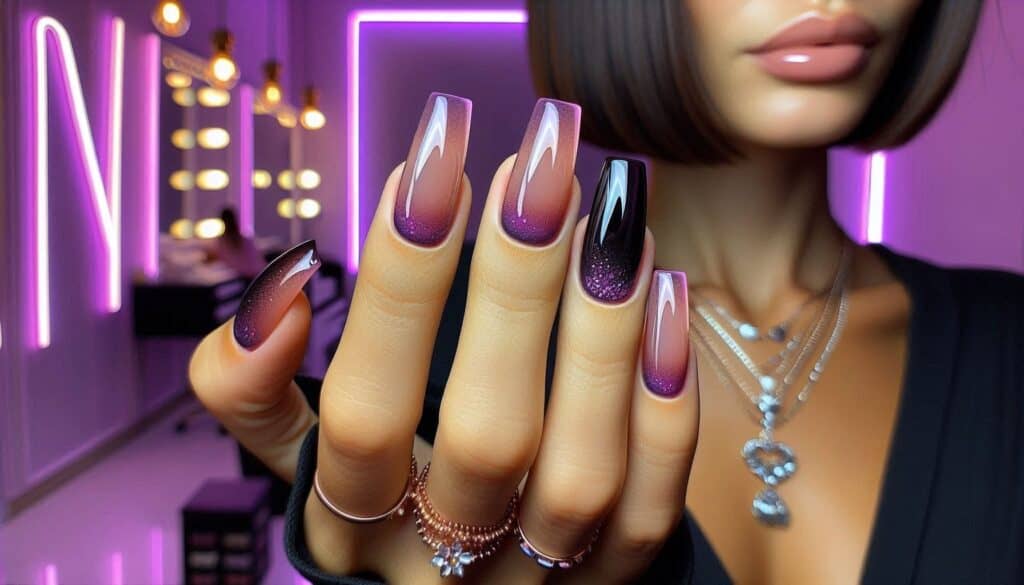
Additional Helpful Supplies:
- Nail Polish Remover: For quick corrections and final cleanup.
- Fine Detail Brush: Useful for adding embellishments or fine line work.
- Dotting Tool: Great for accents like polka dots or glitter placement.

Ombre Nail Techniques: Master the Basics
Experiment to find a technique you love! Here are two popular approaches:
- Sponge Technique: Apply stripes of your chosen nail polish colors directly onto the makeup sponge. Gently dab and roll the sponge onto your nail to transfer and blend the gradient.
- Ombre Brush Technique: Apply polish to your nail in stripes, then use the ombre brush to softly blend the lines where the colors meet.

Where to Find Ombre Nail Inspiration and Tutorials
- Pinterest: A treasure trove of visual inspiration, search for “ombre nails” along with style keywords like “glitter ombre,” “pastel ombre,” and more.
- YouTube: Search for “ombre nail tutorial” to witness the techniques in action.
- Nail Art Blogs: Many nail enthusiasts share their designs and detailed how-to instructions.

Level Up Your Ombre Game
- Glitter or Chrome Accents: Add a touch of shimmer or a metallic mirror-like finish over your ombre base.
- Incorporate Designs: Ombre provides a gorgeous backdrop for nail art like delicate linework or playful shapes.
- Multiple Gradients: Why limit yourself to two colors? Experiment with blending three or more shades for a show-stopping look.
Ombre nails offer endless possibilities for personalizing your manicure. Start with the basics and let your creativity soar!

Ombre Nails for Beginners: A Step-by-Step Guide
Ombre nails, with their gorgeous blend of colors, might seem intimidating for nail art newbies. But fear not! With the right tools and a little guidance, anyone can master this stunning look.
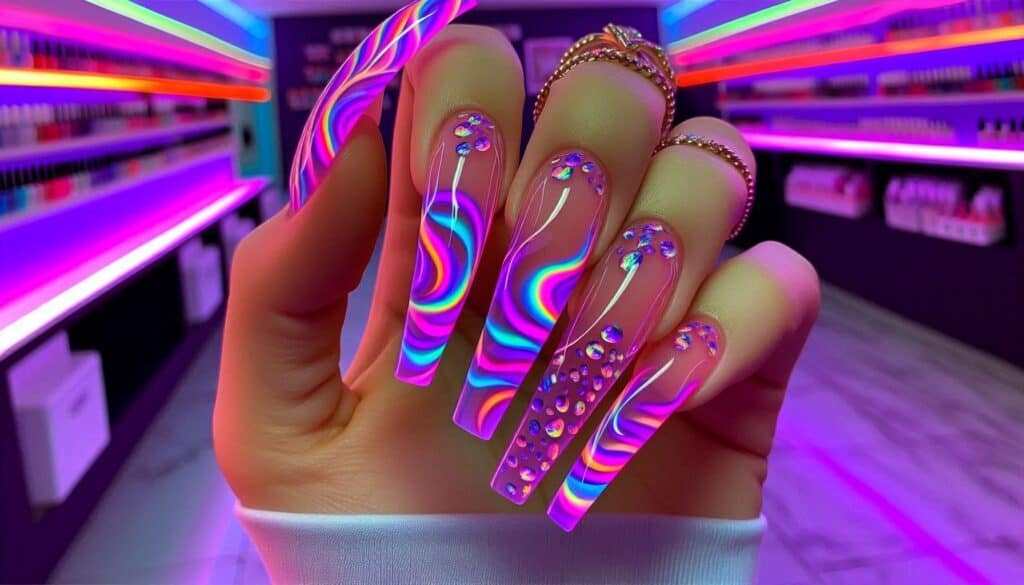
What You’ll Need: Supplies for Success
- Base Coat: This protects your natural nails and creates a smooth base for your polish.
- Nail Polish in Two (or More!) Colors: Choose colors that complement each other or create a vibrant contrast.
- Makeup Sponge: Choose a small, dense makeup sponge specifically designed for nails for the best results.
- Top Coat: Seals in your design while adding a glossy or matte finish, depending on your preference.
- Latex Nail Barrier (Optional): Applying liquid latex around your nails makes cleanup a breeze.

The Classic Ombre Technique: Easy for Beginners
- Prep Your Nails: File and shape your nails, then apply a thin layer of base coat.
- Paint Your Base Color: Apply two coats of your lightest chosen color, letting each coat dry completely.
- Sponge It On: Apply stripes of your polish colors directly onto your makeup sponge. Be generous! The sponge will soak up some of the polish.
- Dab and Blend: Gently dab the sponge onto your nail, slightly rolling it to blend the colors. Repeat for a deeper gradient effect.
- Clean Up: If you used a liquid latex barrier, peel it off. Otherwise, use a small brush dipped in nail polish remover to clean up around your cuticles.
- Seal the Deal: Apply a top coat to complete your manicure.
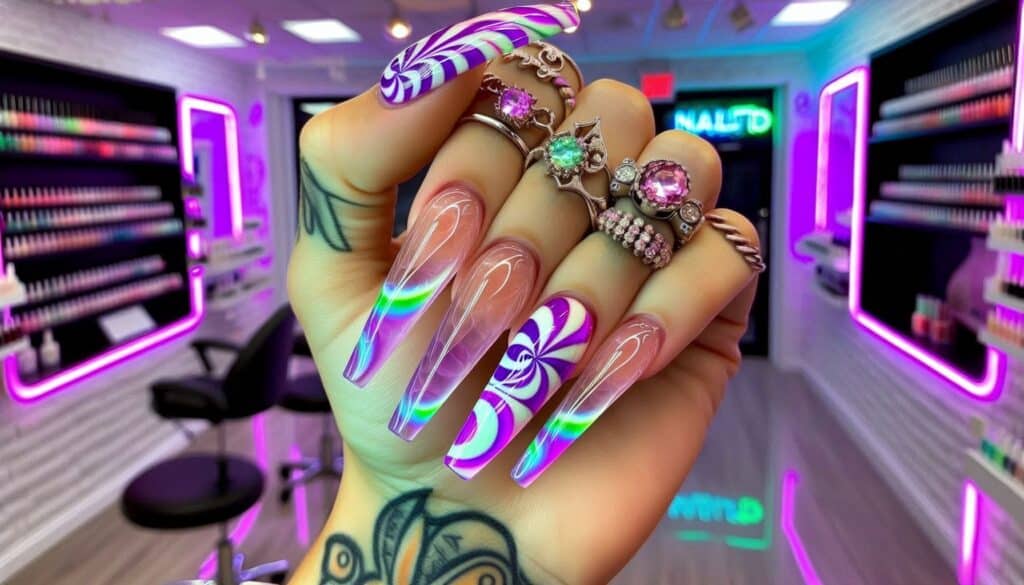
Tips for Ombre Newbies
- Start Simple: Begin with two complementary colors for an easier blending experience.
- Practice Makes Perfect: Try the technique on a piece of paper before moving to your nails.
- Thin Coats: Apply thin layers of polish to prevent streaking and bubbling.
- Protect Your Work: A top coat adds longevity to your beautiful ombre design.

Get Inspired! Resources for Further Exploration
- YouTube Tutorials: Search for “ombre nails for beginners” to find step-by-step video guides. (Example: How to Do Ombre Nails with Regular Polish)
- Pinterest Exploration: Discover endless visual inspiration by searching “ombre nails.” (Example board: Ombre Nail Ideas [invalid URL removed])
- Nail Art Blogs: Find detailed tutorials and discover the latest ombre trends.

Ombre is for Everyone
With a little practice, you’ll be rocking flawless ombre nails in no time. Don’t be afraid to experiment with different colors and techniques to find your signature ombre style!

Stunning Ombre Nail Ideas for Short Nails
Don’t let shorter nails limit your nail art ambitions! Ombre designs are incredibly versatile and can look absolutely fabulous on nails of any length. Let’s explore some eye-catching ideas and tips to elevate your short nail game.

Perfecting Ombre for Short Nails
- Color Choices Matter: Consider lighter shades or a subtle gradient to elongate the appearance of your nails. Bold contrasts can work too, especially with precise blending.
- Keep it Vertical: A vertical gradient (darker at the tip, fading towards the cuticle) creates an illusion of added length.
- Accent Nails: Add a touch of sparkle or a contrasting color to just one or two nails for a unique twist.

Inspiring Ombre Styles for Short Nails
- Soft Pastels: Create a dreamy blend with delicate pastels like baby blue, lavender, and soft pink.
- Nude Ombre: A chic and minimalist look. Blend different shades of nude or beige for a subtle, sophisticated gradient.
- Bold Sunset: Channel vibrant summer skies with a fiery gradient of orange, pink, and yellow.
- Glitter Ombre: Start with a neutral base and fade into a dazzling glitter at the tips for a touch of glam.
- French Ombre: A modern spin on the classic French manicure. Replace the stark white tip with a soft, blended color fade.

Resources for Your Ombre Journey
- Pinterest Power: Search for “short nail ombre” and prepare to be wowed by the endless inspiration. (Example: Pinterest Board for Short Nail Ombre Ideas [invalid URL removed])
- Nail Art Community: Join online forums and groups dedicated to nail art for tips, tutorials, and sharing your own creations.
- YouTube Tutorials: Find channels dedicated to nail art and search specifically for “short nail ombre tutorials.”

Pro Tips for Short Nail Ombre Success
- Small Sponges: Use a smaller, more precise makeup sponge or even tailor a regular one by cutting it for better control on shorter nails.
- Thin Coats: Prevent smudging and ensure smooth blending by applying your polish in thin layers.
- Embrace Minimalism: Sometimes a simple, two-color gradient shines brightest on short nails.
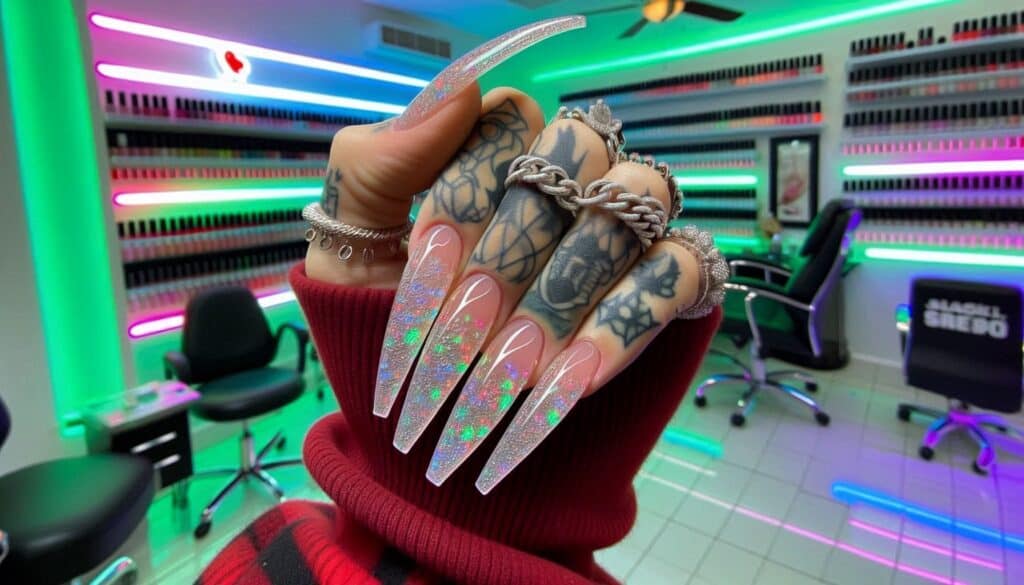
Ombre Nail Art Trends: What’s Hot and How to Achieve Them
Ombre nails remain a classic, but this beloved style continues to evolve. Let’s explore the freshest ombre nail art trends and some tips on creating these looks to keep your manicures on the cutting edge.

Top Ombre Trends Taking Over
- Unexpected Color Combos: Forget predictable pairings. Think bold contrasts like turquoise and fuchsia or muted tones with a pop of neon. [Ombre nails]
- Textured Ombre: A touch of texture elevates your ombre game. Incorporate micro glitter, chrome finishes, or even subtle 3D elements for a multi-dimensional effect. [Ombre nails]
- Multi-Color Gradient: Embrace the “more is more” mentality! Blend three or more colors for a truly eye-catching and personalized ombre design. [Ombre nails]
- Reverse Ombre: Flip the traditional gradient. Start with a darker color at the cuticle, fading towards a lighter shade at the tip. [Ombre nails]
- Abstract Ombre: Less about perfect blending and more about artistic expression. Use a brush to create soft, free-flowing color transitions for a unique look. [Ombre nails]

How to Recreate Trendy Ombre Looks
- Embrace Spongeless Techniques: While sponges are classic, try using ombre brushes or even small detail brushes for more intricate effects or abstract designs. [Ombre nails]
- Experiment with Finishes: Play with combinations of matte, glossy, and shimmery topcoats over a single ombre blend for added dimension. [Ombre nails]
- Ombre Accents: Incorporate your favorite ombre as an accent nail within a larger design for a balanced, modern look. [Ombre nails]

Where to Find Endless Ombre Inspiration
- Instagram Hashtags: Explore hashtags like #ombrenails, #ombrenailart, and #nailtrends for visual inspiration. [Ombre nails]
- Nail Salons: Check the social media profiles of trendy nail salons to see their latest client work and spot upcoming ombre innovations. [Ombre nails]
- Trend Reports: Websites like Harper’s Bazaar and Elle often feature beauty round-ups, including the latest in nail art. [Ombre nails]

Tips for Spotting Emerging Ombre Trends
- Follow Nail Influencers: Keep tabs on what your favorite nail artists and influencers are creating and sharing. [Ombre nails]
- Attend Nail Art Events: If you can, attending nail art expos or workshops will give you a first-hand look at the newest techniques and styles. [Ombre nails]


